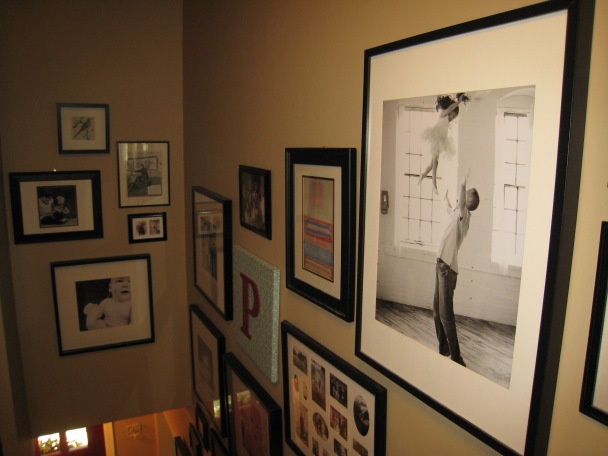
Adding in artwork & accessories is one of my favorite parts of design. Icing on the cake? I think so. So, in my own hallway it was great to finally finish one of my endless “to do list” projects. Creating a family photo wall.
I had one kind of going already, but it only consisted of a few large square photos and I wanted to add in some others- some older ones of grandparents mixed in with other family and our kids, of course. I’d love to tell you that I sat down and painstakingly measured out the arrangement to the last detail, but in reality, I eye-balled it and started hammering into the wall (precisely the reason I don’t hang photos myself for my clients but will come up with arrangements for them instead!) While I don’t have a “formula”, here are a few helpful hints when hanging your own photo arrangement:
1. Start with the biggest pieces first, and arrange smaller ones around them. This will anchor your arrangement.
2. Incorporate artwork/decorative accessories (like wall sconces, for example) with your photos. This makes it interesting and uniquely yours.
3. Buy frames first, and arrange the frames how you like on the wall. Print photos to fit the frames once you have the arrangement up on the wall.
4. Have some consistency & repetition in your arrangement, whether that be the type of frame, color of the frame, the color of the mats, black & white photos, color photos, a mix of color & black and white, etc.
5. For more hints & ideas check out my “DIY” board on pinterest, and also do a search on pinterest for “how to arrange photos” and you’ll get lots of helpful tips!
Enjoy my lovely “point and shoot” camera pics of my family photo wall…
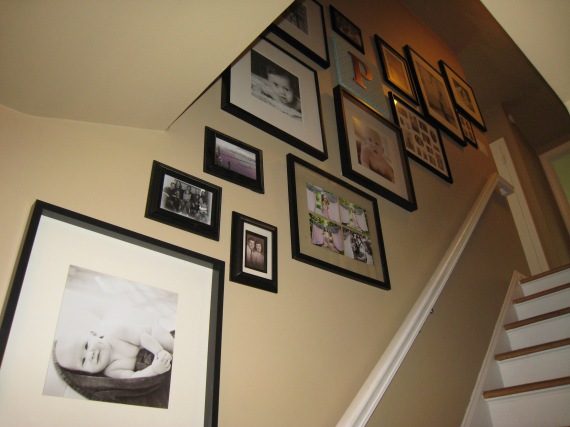 I chose to do a mix of black & white and color and lots of frames. I like the eclectic look, and seeing all of those photos makes me happy every day.
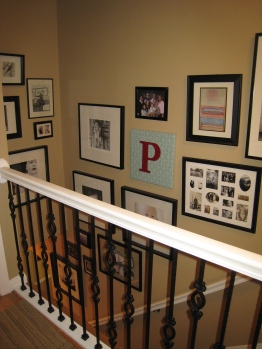 another angle. I was going to leave the small wall blank, but once I got the main wall arrangement up I kept it going and love how it turned out!
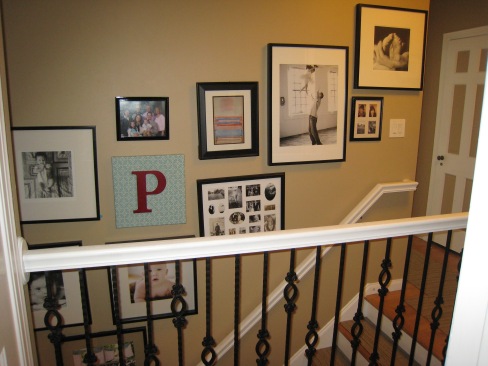 There are still some photos & art I’m going to swap out, but this is the arrangement at the moment! (and yes, that “P” stands for the first initial in my last name, and yes, I stole the idea from pinterest- it’s just fabric stretched on a canvas with a painted letter hot glued on top)
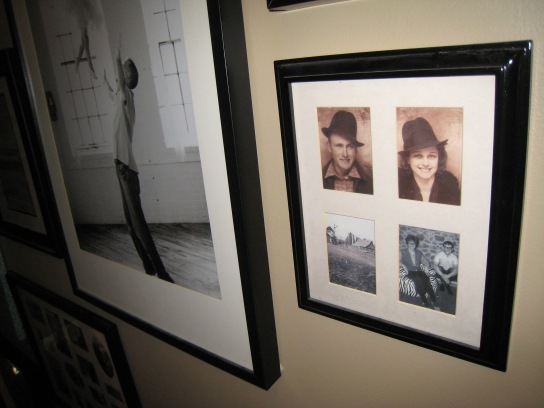 Don’t forget to add in those cool old family photos. The sepia tone one above is my grandparents (I think they have sort of a “Bonnie & Clyde” vibe going on. I want that hat) and below it are my groovy parents, and a photo of my grandparent’s farm.
